Hey there, savvy homeowners and business guardians! Ever had that sinking feeling when you check your security camera feed only to find a blank screen or fuzzy images? We’ve all been there, right? Fear not! In this comprehensive guide, we’re diving headfirst into the world of Security Camera Repair – the superhero your surveillance system deserves.
Why Security Cameras Matter
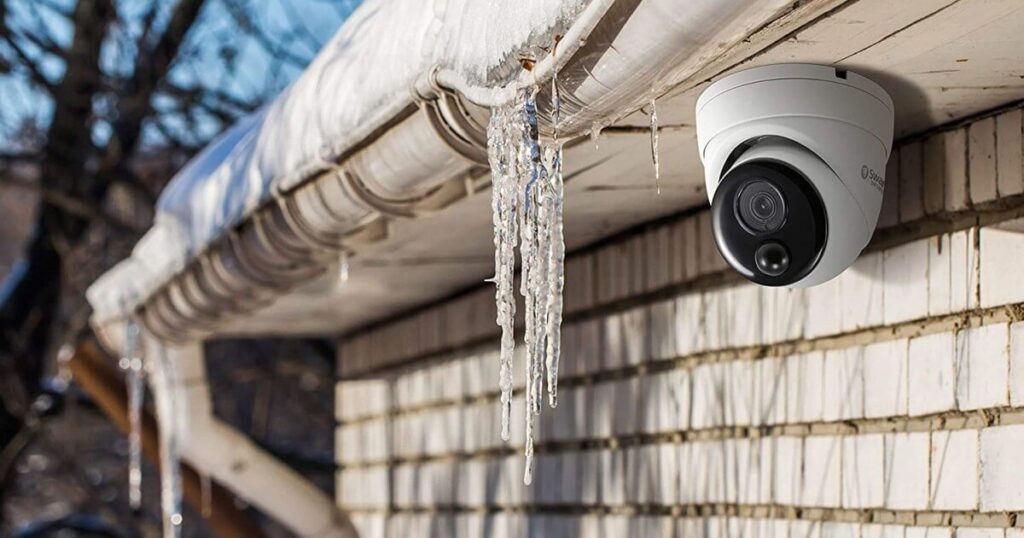
Brooklyn, New York, known for its vibrant culture and lively streets, isn’t immune to security concerns. With the rising importance of surveillance, security cameras have become the silent watchdogs, keeping an eagle eye on your property 24/7. Whether you’re safeguarding your cozy Brownstone in Brooklyn Heights or overseeing a bustling business in DUMBO, a malfunctioning security camera could leave you vulnerable.
Identifying the Culprit: Preparing for Repair
Safety First!
Before you unleash your inner tech guru, let’s talk safety. You wouldn’t dive into a pool without checking its depth, right? Well, security camera repair is no different:
- Power off the Camera:
- Why? To avoid any unexpected shocks or sparks.
- How? Locate the power switch or unplug the camera.
- Disconnect Power Source:
- Why? Ensures a complete shutdown, minimizing risks.
- How? Unplug the power adapter or switch off the circuit breaker.
- Gather Necessary Tools:
- Why? Being unprepared is like going to war without your armor.
- What? Screwdrivers, multimeter, replacement cables, and maybe a cup of coffee.
Decoding Your Camera Type
Next up – identifying your camera type. It’s like understanding the language of gadgets:
- Wired vs. Wireless Cameras:
- Wired: Connected through cables.
- Wireless: Communicates via Wi-Fi.
- Analog vs. IP Cameras:
- Analog: Older tech, but reliable.
- IP (Internet Protocol): Modern and often high-definition.
Understanding these basics sets the stage for a targeted repair mission. Now, let’s unmask the culprit!
Diagnosing the Problem
Inspecting the Obvious: Visual Examination
Just like Sherlock looks for clues, you need to examine your camera visually:
- Check for Physical Damage: Any signs of water damage, loose parts, or a rebellious squirrel nesting on your lens?
- Examine Cables and Connections: Are cables frayed or connectors playing hide-and-seek? It’s time to play detective!
Power Play: Power Supply Issues
The power game is crucial. Is your camera feeling low on energy?
- Verify Power Source: Is the power outlet functional, or are you barking up the wrong power tree?
- Test Power Cables: Swap out that worn-out cable. It’s like giving your camera a fresh cup of coffee.
Network Check: Connection Woes
In this digital age, even cameras need a strong network game:
- Check Ethernet Cables: Are those cables channeling their inner acrobat, or are they securely connected?
- Test Wi-Fi Connection: Is your camera suffering from Wi-Fi withdrawal? Time for a connection check!
Picture Imperfect: Camera Lens and Image Quality
Is your camera having an artistic meltdown, producing abstract images?
- Clean Camera Lens: A smudged lens is like wearing foggy glasses. Grab that lens cleaner and wipe away the blur!
- Adjust Image Settings: Playing with contrast and brightness can sometimes bring out the hidden superstar in your camera.
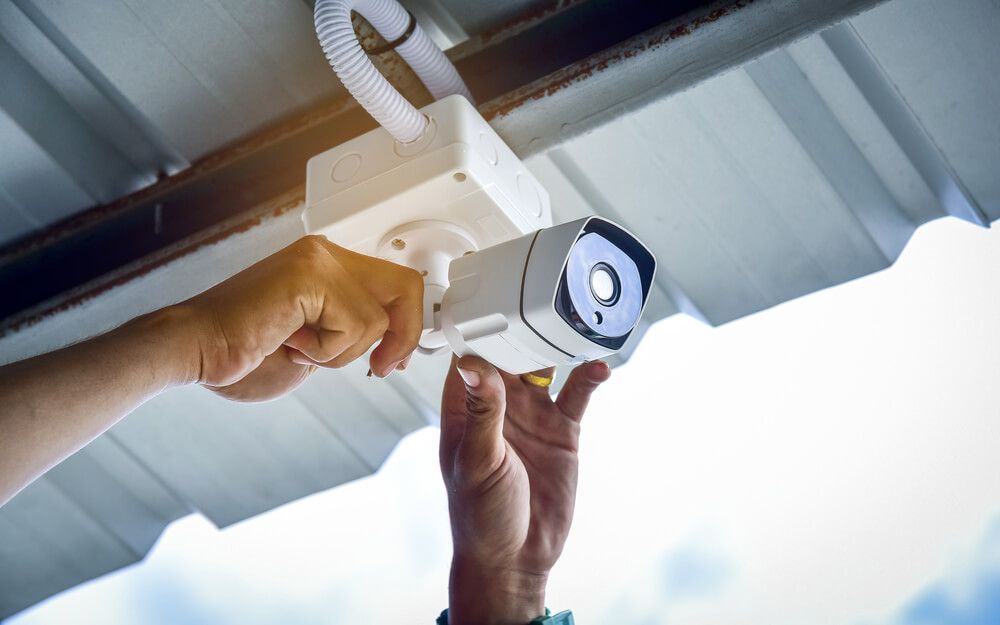
Basic Repairs: Getting Your Hands Dirty
Cable Conundrums: Cable Replacement
So, your detective work paid off, and you found a culprit – a rogue cable causing chaos. Time for some surgery!
- Identifying Faulty Cables:
- Symptoms: Random blackouts, flickering images.
- Tools: Screwdrivers, cable tester.
- Action: Locate the damaged cable by testing each one.
- Safely Replacing Cables:
- Tools: New cables, screwdrivers.
- Procedure: Unplug the damaged cable, connect the new one, and secure it in place.
Power Surge: Power Supply Replacement
Your camera needs its daily dose of power, and a faulty power supply can be a real buzzkill:
- Testing Power Supply Unit:
- Symptoms: Camera not turning on, inconsistent power.
- Tools: Multimeter.
- Action: Test the power supply’s voltage. If it’s not up to par, time for a replacement.
- Installing a New Power Supply:
- Tools: Screwdrivers.
- Procedure: Unplug the old power supply, connect the new one, and secure it.
Network Niggles: Network Configuration
If your camera is feeling lonely in the digital void, it’s time to rekindle that connection:
- Configuring IP Addresses:
- Symptoms: Camera offline, network errors.
- Tools: Computer, router.
- Action: Reconfigure the camera’s IP settings to match your network.
- Troubleshooting Wi-Fi Issues:
- Symptoms: Sporadic connection, laggy feed.
- Action: Check Wi-Fi signal strength, update router firmware, and ensure a secure connection.
Advanced Repairs: Unleashing Your Inner Tech Wizard
Lens Lovin’: Camera Lens Replacement
Feeling like your camera is viewing the world through a foggy window? Time to swap out that old lens!
- Choosing the Right Lens:
- Considerations: Focal length, aperture size.
- Tools: Screwdrivers, new lens.
- Action: Select a compatible lens based on your surveillance needs.
- Calibrating the New Lens:
- Tools: Calibration chart, patience.
- Procedure: Adjust the focus and aperture settings for crystal-clear images.
Sensor Surgery: Image Sensor Replacement
If your camera’s eyes are failing, it might be the image sensor throwing a tantrum. Let’s fix that!
- Identifying Faulty Image Sensors:
- Symptoms: Blurred images, color distortion.
- Tools: Screwdrivers, new image sensor.
- Action: Locate and replace the malfunctioning image sensor.
- Installing a New Image Sensor:
- Tools: Delicate hands, screwdrivers.
- Procedure: Gently remove the old sensor and install the new one, ensuring proper alignment.
Firmware Fiesta: Firmware Update
Sometimes, your camera just needs a software pep talk. Let’s give it an upgrade!
- Checking Current Firmware:
- Tools: Computer, internet connection.
- Action: Visit the manufacturer’s website and download the latest firmware for your camera model.
- Updating Firmware Safely:
- Tools: Computer, USB cable.
- Procedure: Connect your camera to the computer, follow manufacturer instructions for firmware update.
Testing and Calibration: Ensuring Peak Performance
Powering On the Camera
The moment of truth has arrived! Let’s power up that camera and see if our efforts have paid off:
- Checking Power Connection:
- Ensure all power cables are securely connected.
- Turn on the camera and observe for any unusual sounds or lights.
- Verifying Initial Setup:
- Confirm that the camera goes through its initialization process without hiccups.
Checking Live Feed
A surveillance camera is only as good as its feed. Let’s ensure your camera is delivering the visual goods:
- Monitoring the Live Feed:
- Access the camera feed on your monitoring device.
- Look for any glitches, distortions, or delays in the live stream.
- Adjusting Image Settings:
- Fine-tune the camera settings for optimal image quality.
- Pay attention to color balance, contrast, and brightness.
Calibrating for Optimal Performance
It’s time to fine-tune your camera for the best performance in its surveillance role:
- Focus and Zoom Calibration:
- Adjust the focus and zoom settings to ensure a clear and detailed image.
- Use test objects or reference points to gauge accuracy.
- Night Vision Calibration (if applicable):
- Test the camera’s night vision capabilities in low-light conditions.
- Make adjustments to enhance visibility without sacrificing image quality.
Troubleshooting: Navigating the Glitchy Waters
Common Error Messages
So, your camera is still throwing a digital tantrum? Let’s decode those error messages:
- Error: “No Signal”:
- Possible Causes: Loose cables, power failure.
- Solution: Check and secure all cables, ensure a stable power source.
- Error: “Connection Lost”:
- Possible Causes: Network issues, Wi-Fi interference.
- Solution: Reconfigure network settings, eliminate interference sources.
- Error: “Image Not Clear”:
- Possible Causes: Dirty lens, misaligned focus.
- Solution: Clean the lens, recalibrate focus settings.
Checking System Logs
Every camera has its diary. Let’s peek into those system logs for clues:
- Accessing Camera Logs:
- Log in to the camera’s interface or software.
- Look for timestamps and error codes in the logs.
- Identifying Anomalies:
- Pay attention to unusual patterns or recurring errors.
- Cross-reference with common issues and their solutions.
Seeking Professional Help
Sometimes, even the mightiest DIY warriors need reinforcements. When all else fails:
- Contacting Manufacturer Support:
- Refer to your camera’s manual for customer support contacts.
- Provide detailed information on the issue and follow their guidance.
- Consulting a Professional Technician:
- If under warranty, contact the manufacturer-approved service center.
- Seek recommendations for reputable local technicians if out of warranty.
Preventive Maintenance: Keeping Your Surveillance Castle Secure
Regular Inspections
An ounce of prevention is worth a pound of cure. Let’s establish a routine to keep those cameras in top-notch condition:
- Scheduled Check-ups:
- Perform monthly visual inspections.
- Look for signs of wear, loose connections, or any physical damage.
- Weatherproofing:
- Ensure outdoor cameras are properly sealed against the elements.
- Consider installing protective covers or enclosures.
Cleaning and Dust Prevention
Cameras aren’t fans of dust bunnies. Let’s give them a dust-free haven:
- Lens Cleaning:
- Use a lens cleaning kit for regular wipe-downs.
- Address any smudges or dirt obstructing the lens.
- Cable Management:
- Organize and secure cables to prevent tangling or wear.
- Use cable clips or ties for neatness.
Firmware Updates and Upgrades
Keep your camera’s brain sharp with regular firmware TLC:
- Scheduled Firmware Checks:
- Set a quarterly reminder to check for firmware updates.
- Ensure your camera is running the latest software for enhanced performance.
- Backup Configuration Settings:
- Before any firmware update, backup your camera’s current settings.
- In case of issues, you can easily revert to a stable configuration.
By incorporating these preventive measures into your security camera maintenance routine, you’re not just fixing issues as they arise – you’re preventing them from happening in the first place. It’s the secret sauce to a reliable and long-lasting surveillance system. Bravo, maintenance maestro!
Final Words
And there you have it – your comprehensive guide to Security Camera Repair. From basic cable swaps to firmware fiestas, you’ve conquered the digital realm. Remember, being the guardian of your security system comes with the responsibility of regular check-ups and a vigilant eye.
Now, armed with knowledge and a toolkit, you’re not just a camera owner – you’re a tech-savvy protector. So go ahead, empower yourself, and keep those watchful eyes wide open. Happy repairing!
Frequently Asked Questions (FAQs)
Q1: My security camera is not turning on. What could be the issue?
A: This could be due to various reasons such as a faulty power supply, damaged power cables, or a malfunctioning camera. Start by checking the power source, testing the cables, and if the issue persists, it might require a power supply replacement.
Q2: How often should I perform preventive maintenance on my security cameras?
A: Regular inspections and maintenance should be conducted monthly. This includes visual checks, cleaning the lens, organizing cables, and ensuring firmware is up to date. Additional weatherproofing measures for outdoor cameras can be done seasonally.
Q3: I’m getting an “Image Not Clear” error on my camera. What should I do?
A: This error is often related to a dirty lens or misaligned focus settings. Begin by cleaning the lens with a proper lens cleaning kit. If the issue persists, recalibrate the focus settings following the manufacturer’s guidelines.
Q4: Can I update the firmware of my security camera myself?
A: Yes, you can update the firmware yourself. Check the manufacturer’s website for the latest firmware version compatible with your camera model. Follow the provided instructions carefully, ensuring a stable internet connection during the update.
Q5: How do I troubleshoot network connection issues with my security camera?
A: Start by checking Ethernet cables for any damage or loose connections. If using Wi-Fi, ensure a stable signal and update your router’s firmware. Reconfigure the camera’s IP settings to match your network, and consider eliminating potential sources of interference.
Q6: What should I do if my camera continues to malfunction after basic repairs and troubleshooting?
A: If the issue persists, consider seeking professional help. Contact the manufacturer’s customer support for guidance, especially if your camera is under warranty. If out of warranty, consult with a reputable local technician for further diagnostics and repairs.
Q7: Can I use third-party components for repairs, such as power supplies or lenses?
A: While it’s possible, it’s recommended to use manufacturer-approved components to ensure compatibility and optimal performance. Using third-party parts may void warranties and could lead to unforeseen issues.
Q8: Is it necessary to backup my camera’s configuration settings before a firmware update?
A: Yes, it’s crucial to backup your camera’s configuration settings before a firmware update. This ensures that, in case of any issues during the update, you can easily revert to a stable configuration without losing your preferred settings.